How to set up A/B tests in Astro
Jan 29, 2024
A/B tests help you make your Astro app better by enabling you to compare the impact of changes on key metrics. To show you how to set one up, we create a basic Astro app, add PostHog, create an A/B test, and implement the code for it.
1. Create an Astro app
First, ensure Node.js is installed (version 18.0 or newer). Then, create a new Astro app:
npm create astro@latest
When prompted in the command line, name your new project directory (we chose astro-ab-test
), start your new project Empty
, choose No
for TypeScript, install dependencies, and No
for git repository.
Next, replace the code in src/pages/index.astro
with a simple heading and button:
------<html lang="en"><head><meta charset="utf-8" /><link rel="icon" type="image/svg+xml" href="/favicon.svg" /><meta name="viewport" content="width=device-width" /><meta name="generator" content={Astro.generator} /><title>Astro</title></head><body><h1>Astro A/B tests</h1><button class="main-button">Click me!</button></body></html>
Run npm run dev
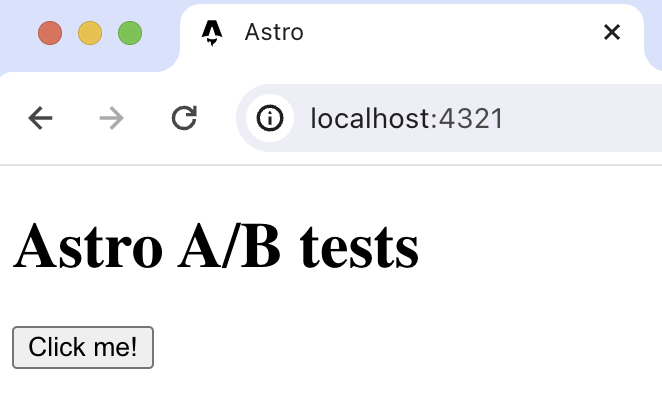
and navigate to http://localhost:4321 to see your app in action.
2. Add PostHog to your app
With our app set up, it’s time to install and set up PostHog. If you don't have a PostHog instance, you can sign up for free.
Once done, go back to your Astro project and create a new components
folder in the src
folder. In this folder, create a posthog.astro
file
cd ./srcmkdir componentscd ./componentstouch posthog.astro
In this file, add your Web snippet
which you can find in your project settings.
------<script>!function(t,e){var o,n,p,r;e.__SV||(window.posthog=e,e._i=[],e.init=function(i,s,a){function g(t,e){var o=e.split(".");2==o.length&&(t=t[o[0]],e=o[1]),t[e]=function(){t.push([e].concat(Array.prototype.slice.call(arguments,0)))}}(p=t.createElement("script")).type="text/javascript",p.crossOrigin="anonymous",p.async=!0,p.src=s.api_host+"/static/array.js",(r=t.getElementsByTagName("script")[0]).parentNode.insertBefore(p,r);var u=e;for(void 0!==a?u=e[a]=[]:a="posthog",u.people=u.people||[],u.toString=function(t){var e="posthog";return"posthog"!==a&&(e+="."+a),t||(e+=" (stub)"),e},u.people.toString=function(){return u.toString(1)+".people (stub)"},o="capture identify alias people.set people.set_once set_config register register_once unregister opt_out_capturing has_opted_out_capturing opt_in_capturing reset isFeatureEnabled onFeatureFlags getFeatureFlag getFeatureFlagPayload reloadFeatureFlags group updateEarlyAccessFeatureEnrollment getEarlyAccessFeatures getActiveMatchingSurveys getSurveys getNextSurveyStep onSessionId".split(" "),n=0;n<o.length;n++)g(u,o[n]);e._i.push([i,s,a])},e.__SV=1)}(document,window.posthog||[]);posthog.init('<ph_project_api_key>',{api_host:'https://us.i.posthog.com',})</script>
The next step is to a create a Layout where we will use posthog.astro
. Create a new folder layouts
in src
and then a new file Layout.astro
:
cd .. && cd .. # move back to your base directory if you're still in src/components/posthog.astrocd ./srcmkdir layoutscd ./layoutstouch Layout.astro
Add the following code to Layout.astro
:
---import PostHog from '../components/posthog.astro'---<head><PostHog /></head>
Lastly, update index.astro
to use the new Layout:
---import Layout from '../layouts/Layout.astro';---<Layout><html lang="en"><head><meta charset="utf-8" /><link rel="icon" type="image/svg+xml" href="/favicon.svg" /><meta name="viewport" content="width=device-width" /><meta name="generator" content={Astro.generator} /><title>Astro</title></head><body><h1>Astro A/B tests</h1><button class="main-button">Click me!</button></body></html></Layout>
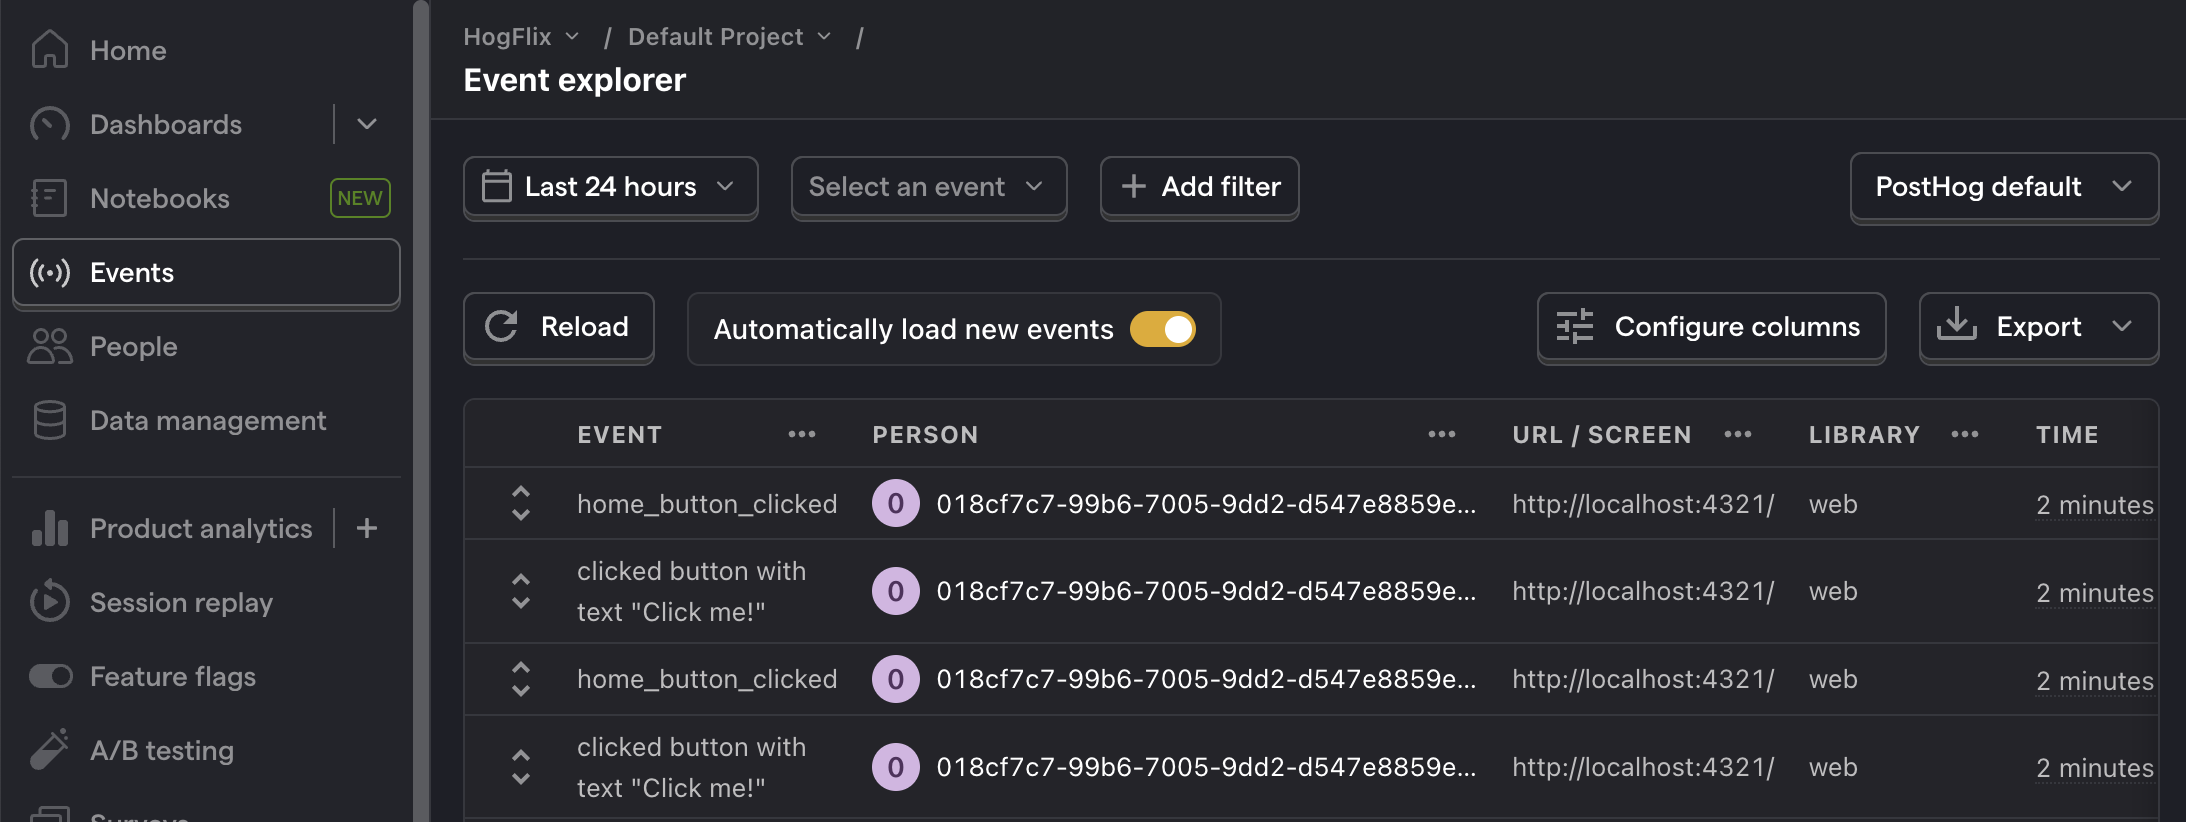
Once you’ve done this, reload your app and click the button a few times. You should see events appearing in the PostHog events explorer.
3. Capture a custom event
The first part of setting up our A/B test in PostHog is setting up the goal metric. We'll use the number of clicks on the button as our goal.
To measure this, we capture a custom event home_button_clicked
when the button is clicked. To do this, update the code in posthog.astro
to add a <script>
and call posthog.capture()
when the button is clicked.
---import Layout from '../layouts/Layout.astro';---<Layout><html lang="en"><head><meta charset="utf-8" /><link rel="icon" type="image/svg+xml" href="/favicon.svg" /><meta name="viewport" content="width=device-width" /><meta name="generator" content={Astro.generator} /><title>Astro</title></head><body><h1>Astro A/B tests</h1><button class="main-button">Click me!</button><script>const button = document.querySelector('.main-button');button.addEventListener('click', () => {window.posthog.capture('home_button_clicked')});</script></body></html></Layout>
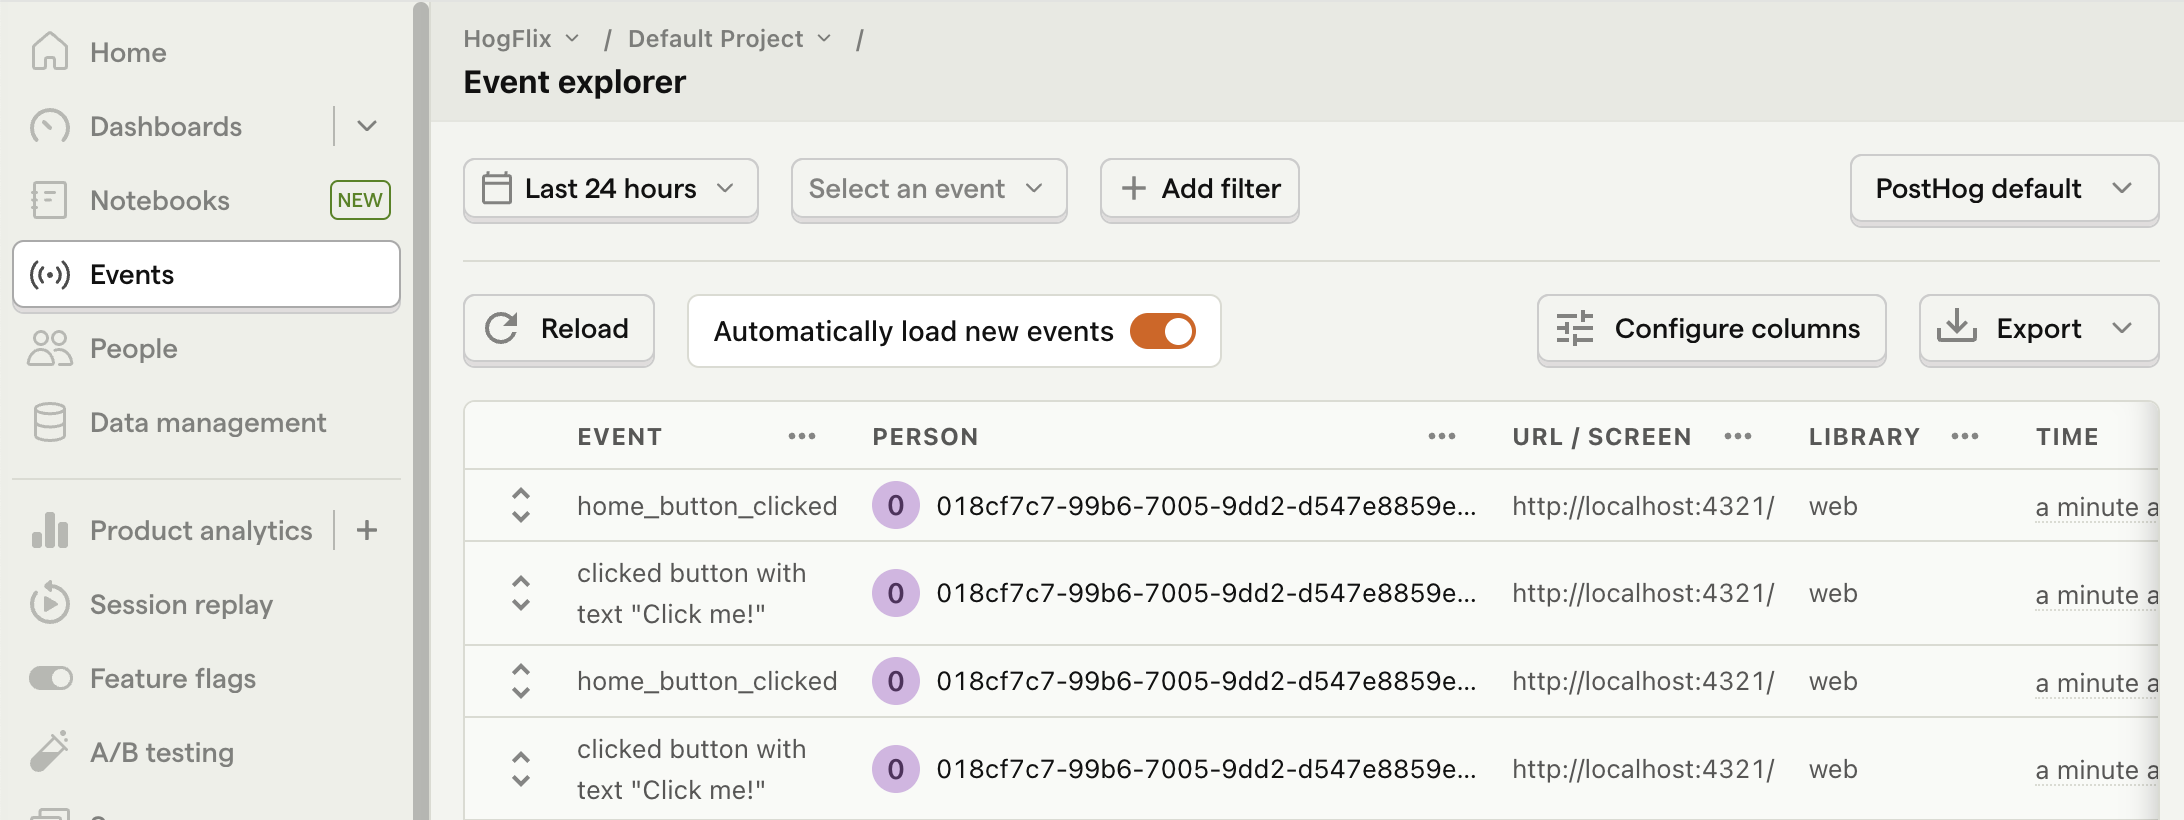
With this set up, refresh your app and click the button a few times to see the event captured in PostHog.
4. Create an A/B test in PostHog
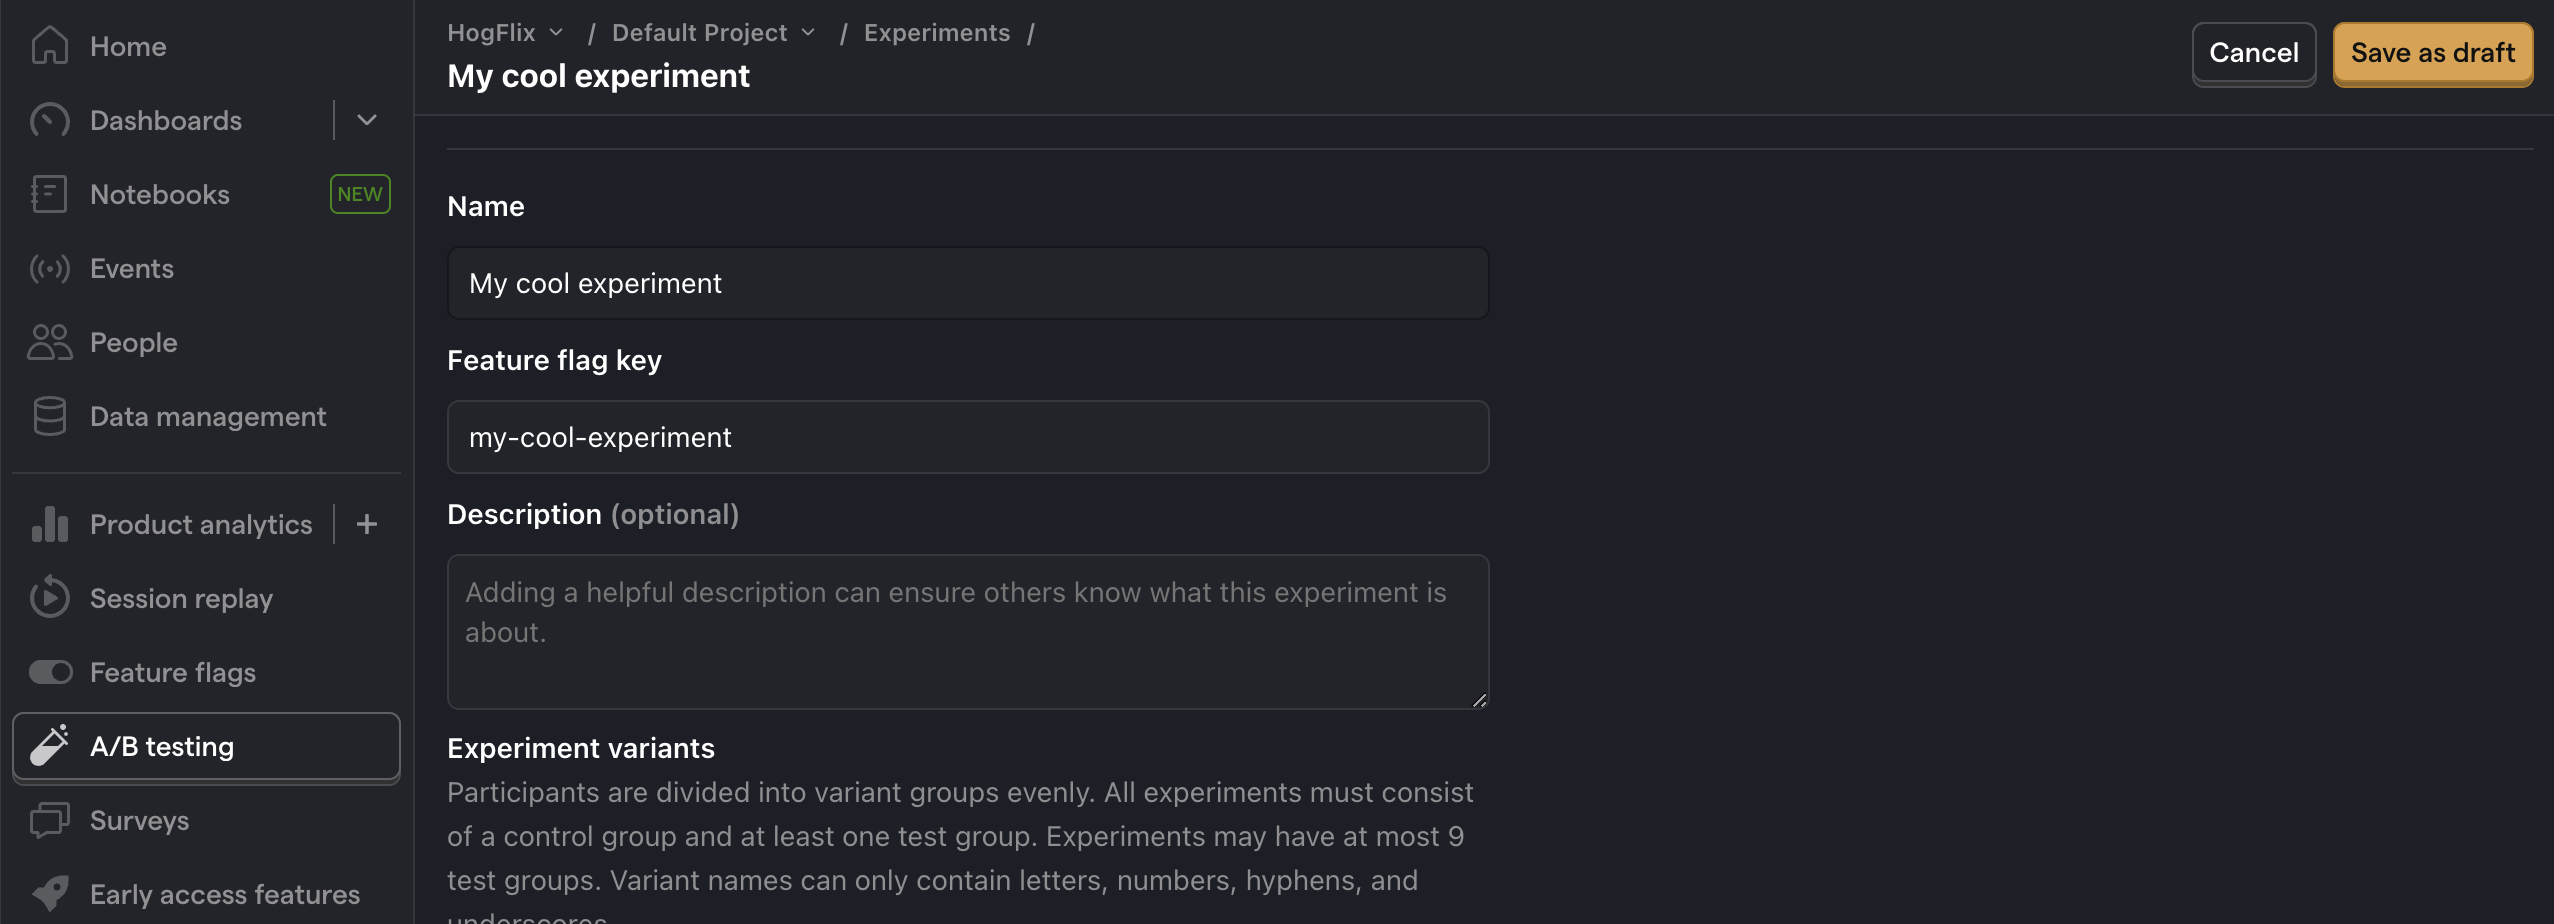
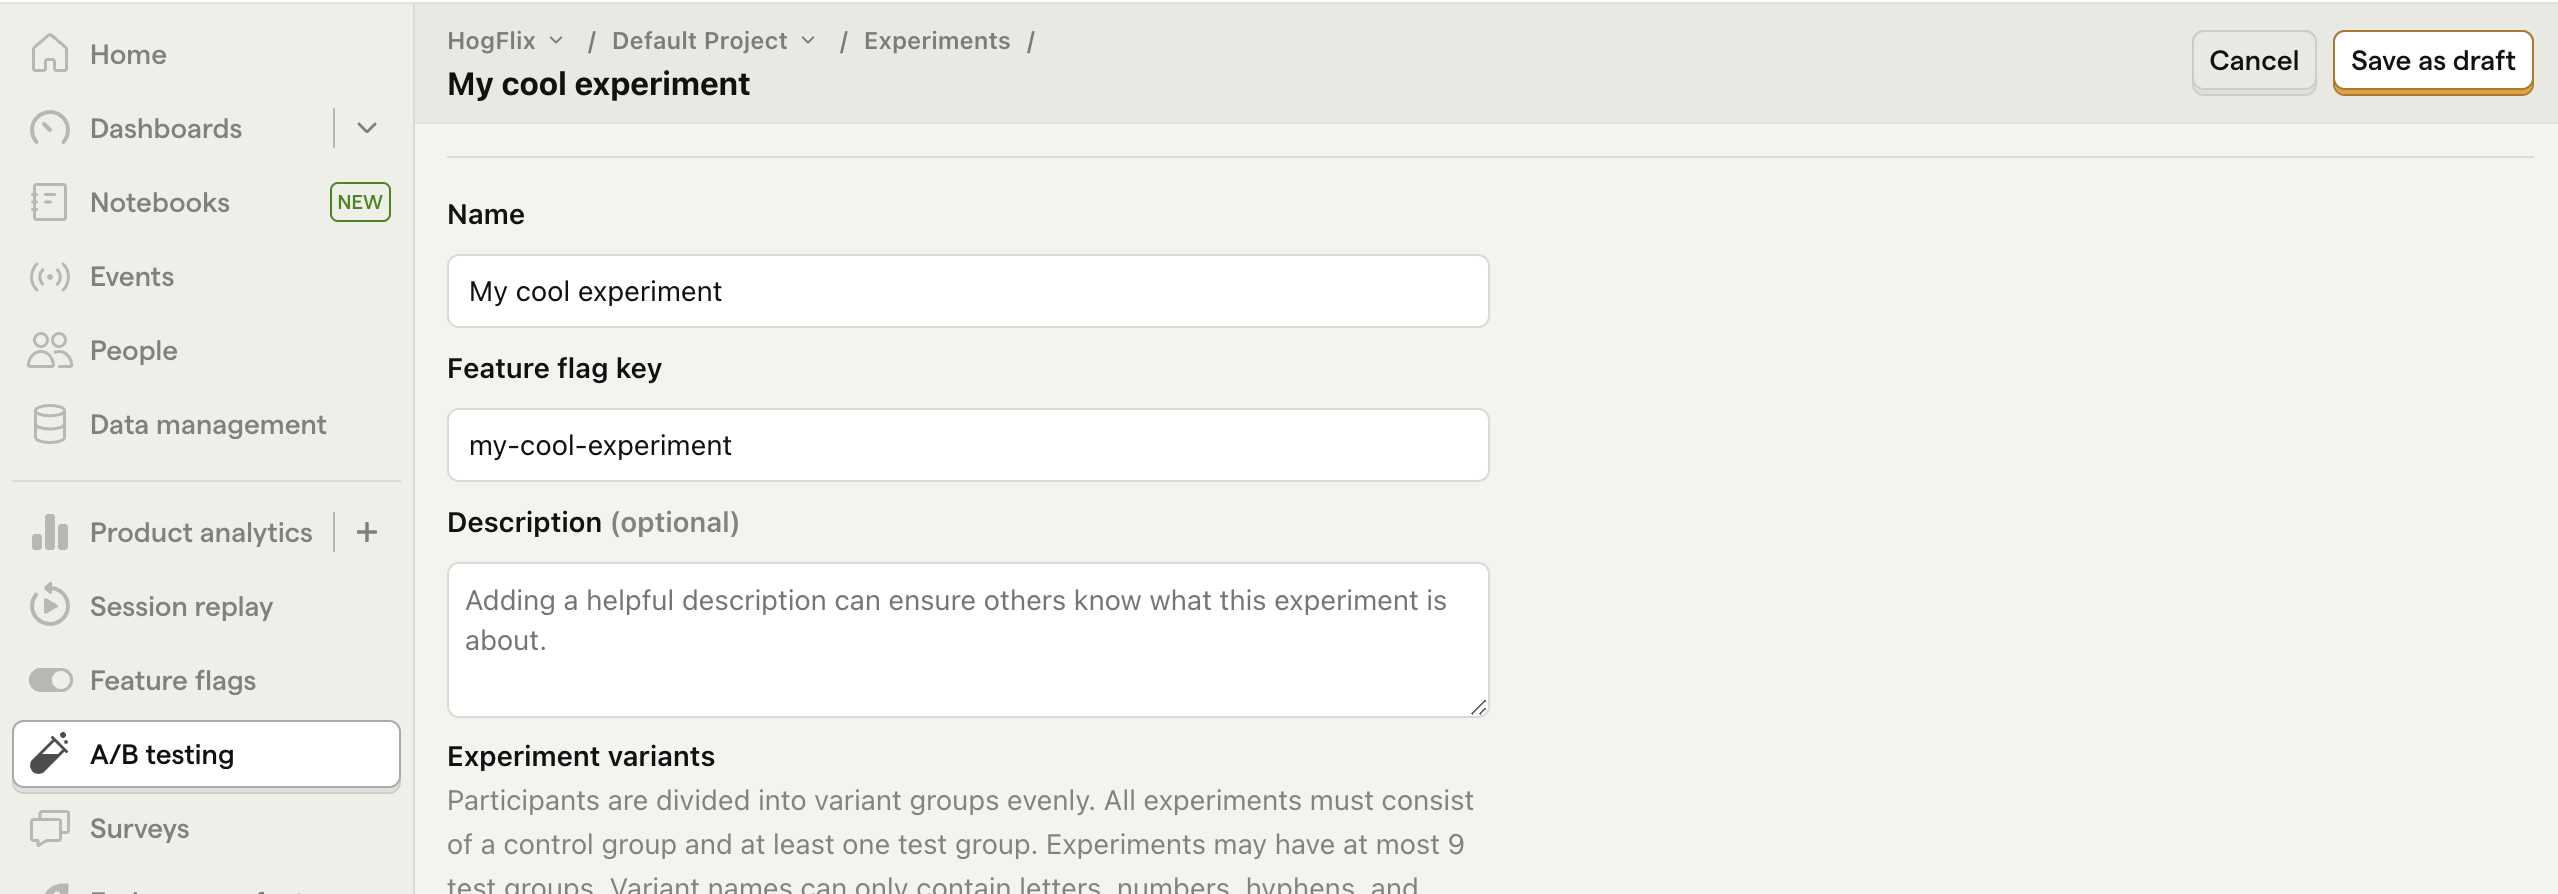
Next, go to the A/B testing tab and create an A/B test by clicking the New experiment button. Add the following details to your experiment:
- Name it "My cool experiment".
- Set "Feature flag key" to
my-cool-experiment
. - Under the experiment goal, select the
home_button_clicked
event we created in the previous step. - Use the default values for all other fields.
Click "Save as draft" and then click "Launch".
5. Implement the A/B test code
When it comes to implementing our experiment code, there are two options:
- Client-side rendering
- Server-side rendering
We'll show you how to implement both.
Client-side rendering
To implement the A/B test, we use the posthog.onFeatureFlags
callback to update the button text based on whether the user is in the control
or test
variant of the experiment.
Update the code in /components/posthog.astro
to implement posthog.onFeatureFlags
code inside PostHog's loaded
callback:
------<script>!function(t,e){var o,n,p,r;e.__SV||(window.posthog=e,e._i=[],e.init=function(i,s,a){function g(t,e){var o=e.split(".");2==o.length&&(t=t[o[0]],e=o[1]),t[e]=function(){t.push([e].concat(Array.prototype.slice.call(arguments,0)))}}(p=t.createElement("script")).type="text/javascript",p.crossOrigin="anonymous",p.async=!0,p.src=s.api_host+"/static/array.js",(r=t.getElementsByTagName("script")[0]).parentNode.insertBefore(p,r);var u=e;for(void 0!==a?u=e[a]=[]:a="posthog",u.people=u.people||[],u.toString=function(t){var e="posthog";return"posthog"!==a&&(e+="."+a),t||(e+=" (stub)"),e},u.people.toString=function(){return u.toString(1)+".people (stub)"},o="capture identify alias people.set people.set_once set_config register register_once unregister opt_out_capturing has_opted_out_capturing opt_in_capturing reset isFeatureEnabled onFeatureFlags getFeatureFlag getFeatureFlagPayload reloadFeatureFlags group updateEarlyAccessFeatureEnrollment getEarlyAccessFeatures getActiveMatchingSurveys getSurveys getNextSurveyStep onSessionId".split(" "),n=0;n<o.length;n++)g(u,o[n]);e._i.push([i,s,a])},e.__SV=1)}(document,window.posthog||[]);posthog.init('<ph_project_api_key>',{api_host:'https://us.i.posthog.com',loaded: (posthog) => {posthog.onFeatureFlags(() => {const button = document.querySelector('.main-button');if (posthog.getFeatureFlag('my-cool-experiment') === 'control') {button.innerText = 'Control variant';} else if (posthog.getFeatureFlag('my-cool-experiment') === 'test') {button.innerText = 'Test variant';}});}})</script>
Now if you refresh your app, you should see the button text updated to either Control variant
or Test variant
. Users are automatically split between the two, PostHog continues to track button clicks, and you can view the results of the A/B test in PostHog.
Server-side rendering
Notice that when you refresh the page, the button text flickers between Click me!
and Control/Test variant
. This is because it takes time for PostHog to load and make the feature flag request.
Server-side rendering is a way to avoid this. This fetches the feature flag before the page loads on the client.
To set this up, we must install and use PostHog’s Node library (because we are making server-side requests).
npm install posthog-node
In the src
folder, create a posthog-node.js
file. This is where we set up the code to create the PostHog Node client. You can find both your API key and instance address in your project settings.
import { PostHog } from 'posthog-node';let posthogClient = null;export default function PostHogNode() {if (!posthogClient) {posthogClient = new PostHog('<ph_project_api_key>', {host: 'https://us.i.posthog.com',});}return posthogClient;}
Next, we import posthog-node.js
into pages/index.astro
. Then we use it to fetch the feature flag and update the button text:
---import Layout from '../layouts/Layout.astro';import PostHogNode from '../posthog-node.js';let buttonText = 'No variant'try {const distinctId = 'placeholder-user-id'const enabledVariant = await PostHogNode().getFeatureFlag('my-cool-experiment', distinctId);if (enabledVariant === 'control') {buttonText = 'Control Variant';} else if (enabledVariant === 'test') {buttonText = 'Test Variant';}} catch (error) {buttonText = 'Error';}---<Layout><html lang="en"><head><meta charset="utf-8" /><link rel="icon" type="image/svg+xml" href="/favicon.svg" /><meta name="viewport" content="width=device-width" /><meta name="generator" content={Astro.generator} /><title>Astro</title></head><body><h1>Astro A/B tests</h1><button class="main-button">{buttonText}</button><script>const button = document.querySelector('.main-button');button.addEventListener('click', () => {window.posthog.capture('home_button_clicked')});</script></body></html></Layout>
Lastly, you can remove the code in posthog.astro
which we added for the client-side rendering of feature flags:
------<script>!function(t,e){var o,n,p,r;e.__SV||(window.posthog=e,e._i=[],e.init=function(i,s,a){function g(t,e){var o=e.split(".");2==o.length&&(t=t[o[0]],e=o[1]),t[e]=function(){t.push([e].concat(Array.prototype.slice.call(arguments,0)))}}(p=t.createElement("script")).type="text/javascript",p.crossOrigin="anonymous",p.async=!0,p.src=s.api_host+"/static/array.js",(r=t.getElementsByTagName("script")[0]).parentNode.insertBefore(p,r);var u=e;for(void 0!==a?u=e[a]=[]:a="posthog",u.people=u.people||[],u.toString=function(t){var e="posthog";return"posthog"!==a&&(e+="."+a),t||(e+=" (stub)"),e},u.people.toString=function(){return u.toString(1)+".people (stub)"},o="capture identify alias people.set people.set_once set_config register register_once unregister opt_out_capturing has_opted_out_capturing opt_in_capturing reset isFeatureEnabled onFeatureFlags getFeatureFlag getFeatureFlagPayload reloadFeatureFlags group updateEarlyAccessFeatureEnrollment getEarlyAccessFeatures getActiveMatchingSurveys getSurveys getNextSurveyStep onSessionId".split(" "),n=0;n<o.length;n++)g(u,o[n]);e._i.push([i,s,a])},e.__SV=1)}(document,window.posthog||[]);posthog.init('<ph_project_api_key>',{api_host:'https://us.i.posthog.com'// the "loaded" argument has been removed})</script>
Now, when you refresh the page, the button text is already set when the page loads.
Setting the correct distinctId
You may notice that we set distinctId = 'placeholder-user-id'
in our flag call above. In production apps, to ensure you fetch the correct flag value for your user, distinctId
should be set to their unique ID.
For logged-in users, you typically use their email as their distinctId
. However, for logged-out users, you can use the distinct_id
property from their PostHog cookie:
---import Layout from '../layouts/Layout.astro';import PostHogNode from '../posthog-node.js';const projectAPIKey = '<ph_project_api_key>';const cookie = Astro.cookies.get(`ph_${projectAPIKey}_posthog`);let buttonText = 'No variant'if (cookie && cookie.json().distinct_id) {try {const distinctId = cookie.json().distinct_id;const enabledVariant = await PostHogNode().getFeatureFlag('my-cool-experiment', distinctId);if (enabledVariant === 'control') {buttonText = 'Control Variant';} else if (enabledVariant === 'test') {buttonText = 'Test Variant';}} catch (error) {buttonText = 'Error';}}---<!-- reset of your code -->
Note that Astro.request.headers
is not available for static sites. If you want to access the request cookies, you need to set your output
to server
or hybrid
in astro.config.mjs
:
import { defineConfig } from 'astro/config';// https://astro.build/configexport default defineConfig({output: "server",});
Further reading
- How to set up Astro analytics, feature flags, and more
- How to set up surveys in Astro
- A software engineer's guide to A/B testing